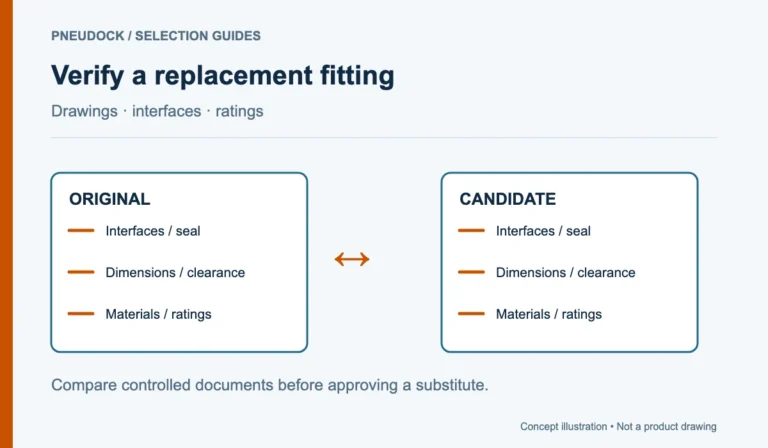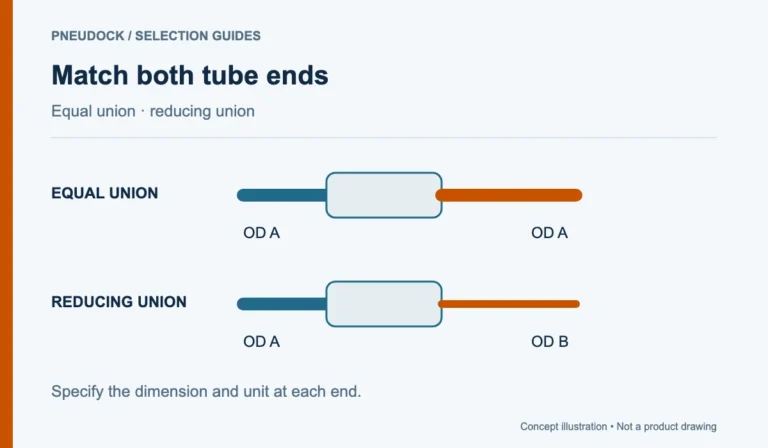


A pneumatic elbow vs tube bend decision starts with the interfaces, not the angle alone. A threaded elbow connects tube to a threaded port, a union elbow connects one tube directly to another, and a continuous bend changes direction without adding a fitting at the corner. The best layout is the one that respects the tube manufacturer’s bend limit, fits the available envelope and still leaves room to assemble and release every connection.
Compare threaded elbows, union elbows and tube bends
A threaded elbow belongs at a component port. Its tube side accepts pneumatic tube, while its other side must match the port’s thread standard and size. PneuDock’s PL elbow fittings are this type. A tube-to-tube union elbow has tube ports on both ends and no threaded end; the PV push-in union elbow is an example.
A continuous tube bend uses no corner fitting. It may reduce the number of connections, but it also needs enough straight run and free space to remain within the tubing supplier’s minimum bend radius. Tube material and size matter. For example, Festo’s PAN tubing data lists minimum and flow-relevant bend radii by tube OD, demonstrating why a route must use the actual tube and size data rather than a generic bend allowance.
| Option | Interfaces to verify | Space to reserve | Typical reason to review it |
|---|---|---|---|
| Threaded elbow | Tube OD plus full mating-thread standard and size | Body envelope, installation-tool access and tube release access | Turning immediately from a threaded component port |
| Union elbow | Tube OD at both push-in ends | Body envelope and release access on both ends | Making a compact tube-to-tube corner |
| Continuous bend | Tube OD, material and approved bend radius | The complete bend arc plus nearby movement clearance | Avoiding an added connection when the route has enough room |
Check bend radius before calling a tube route “simpler”
To plan clearance around a pneumatic tube bend, obtain the minimum bend radius for the exact tube material, outside diameter and service condition. Do not estimate it from a photograph or assume that two tubes of the same OD bend alike. A route that forces the tube against an enclosure edge, creates a visible flattening or loads the fitting sideways needs revision even if it fits on the drawing.
Also check how the assembly will be installed. The tube generally needs a straight, clean end and enough approach space to enter a push-in port correctly. The finished route should not pull the tube sideways at the collet. If the tubing supplier specifies a larger radius or extra allowance for the selected conditions, that value controls the layout.
Plan pneumatic fitting release collar access
A compact tube route needs room for hands and tools as well as component outlines. Reserve access to the pneumatic fitting release collar so a technician can press it evenly and withdraw the tube along its axis. Check that a wrench can reach a threaded connection without using the tube as a lever. If an elbow can be oriented after installation, confirm that feature for the exact quoted model rather than assuming all elbows adjust the same way.
Illustrative example: a valve port sits 35 mm from a cabinet wall and the tube must turn downward. The buyer compares the threaded elbow’s confirmed installation envelope with the selected tube’s required bend arc. If the tube bend would touch the wall, a correctly specified threaded elbow may provide the cleaner route. If the component already has a straight tube connection and the corner occurs farther away, a union elbow or a continuous bend may be easier to service. The numbers are illustrative, not product dimensions.
Record the decision before requesting a fitting
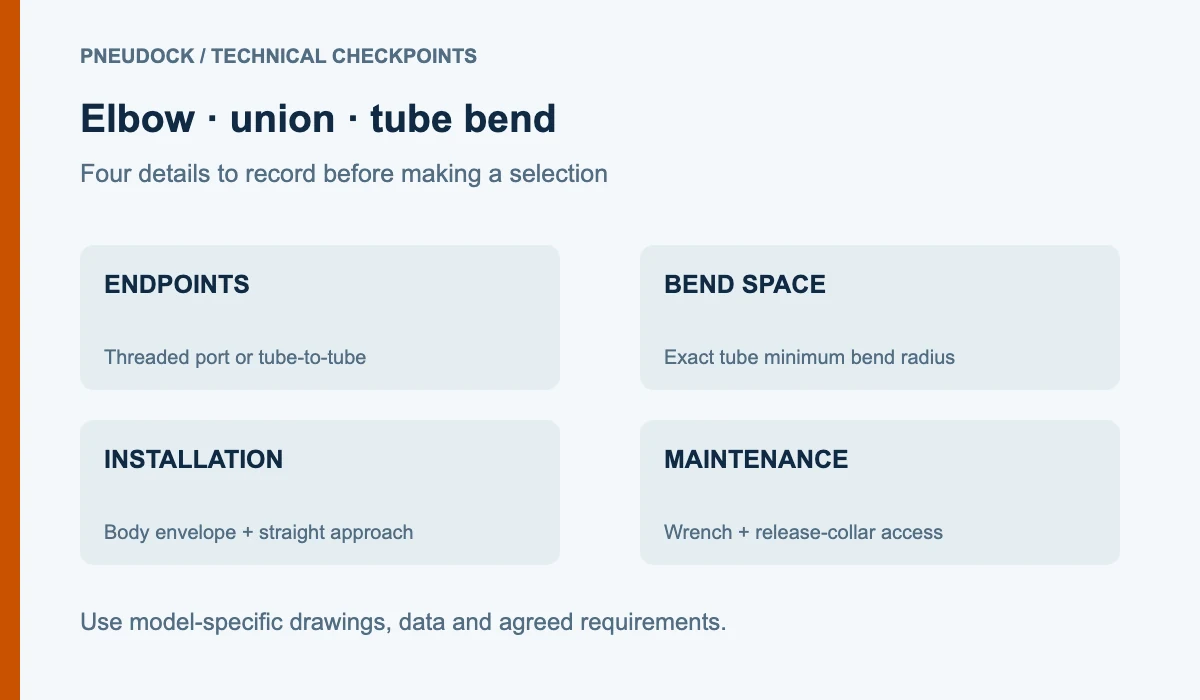
- Mark each endpoint as a tube port or threaded port.
- Record tube outside diameter and material.
- For a threaded port, record the complete thread standard and size.
- Obtain the tube maker’s minimum bend radius for the selected tube.
- Measure the corner envelope and straight approach length.
- Reserve access for release collars and installation tools.
- Confirm pressure, temperature, medium and any movement or vibration conditions.
For additional identification context, see the published guide to air line fitting types. When preparing an inquiry, the pneumatic tubing size information guide explains why OD and units should be stated explicitly. The final choice still depends on the drawings and operating limits for the actual tube and fitting.
Sources
- Parker Legris Master Catalog — identifies straight unions, union elbows and stud/threaded elbows as distinct connection forms.
- Festo Plastic Tubing PAN datasheet — lists minimum and flow-relevant bend radii by tube outside diameter.