

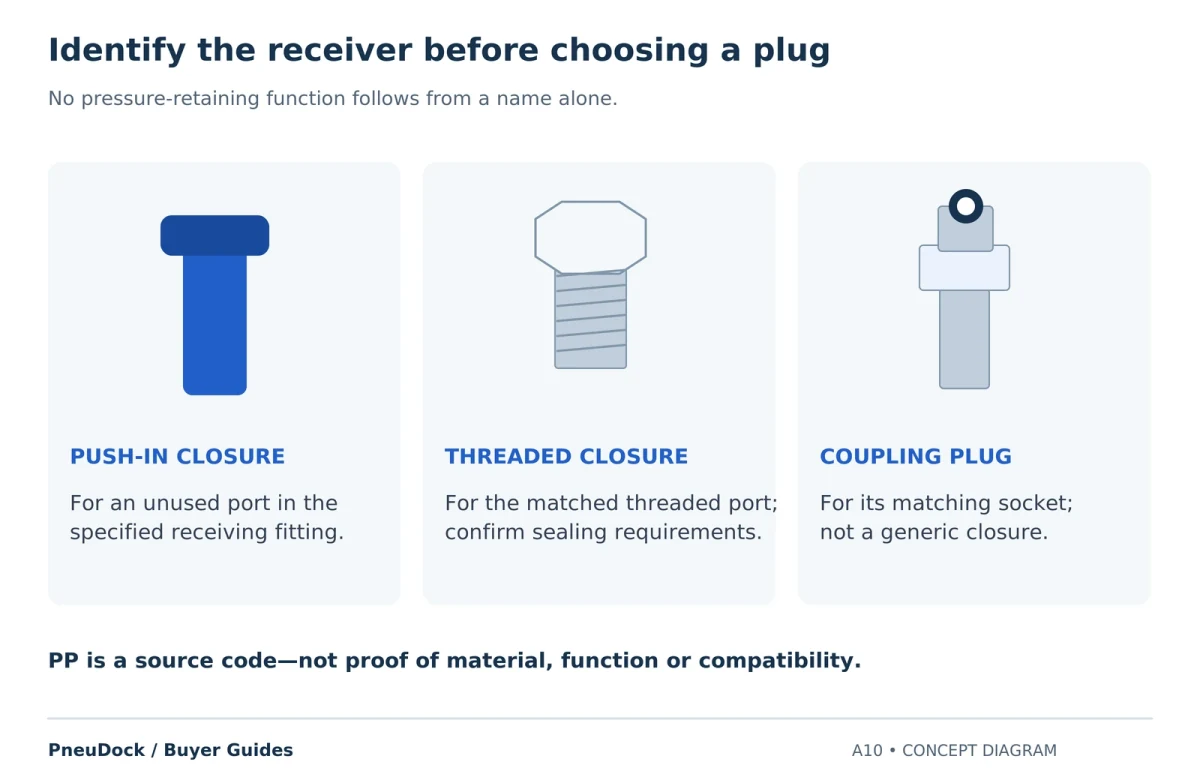
Start pneumatic tube plug identification with the receiving connection and the intended job. An unused push-in fitting port, a threaded port and a quick-coupling socket each call for different information. Record the interface, complete model and required quantity before asking a supplier to identify a replacement.
Identify What Receives the Plug
Photograph the receiving fitting or socket and copy any visible part number. Keep the original catalogue or drawing reference with the image. If the task requires a pressure-retaining closure, ask for the component specified for that exact interface and its documented operating conditions.
When to Request a Push-In Fitting Blanking Plug
A push-in fitting blanking plug closes an unused connection on a compatible receiving fitting. For example, Pneuflex’s PP plastic plug is described as inserting into another push-in fitting to close an unused connection. Use that manufacturer’s product documentation for its permitted size and use.
For your own request, identify the receiving fitting and ask the supplier to confirm the appropriate push-in fitting blanking plug. Include the applicable tube-port specification and the fitting’s complete identity. A diameter measurement helps describe the opening, while the product documentation establishes the permitted closure.
Identify the Pneumatic Threaded Port Plug
A pneumatic threaded port plug needs the full thread standard, size, gender and sealing arrangement of the receiving port. Retain an unknown thread field as an open question and attach the original label or drawing for confirmation.
The PneuDock BD threaded-plug reference provides a starting point for an inquiry. Ask which exact pneumatic threaded port plug matches the identified port, and request the applicable drawing and installation instructions for review.
Pneumatic Coupling Plug Identification
For pneumatic coupling plug identification, record the mating socket, coupling family or profile, complete part number and rear connection. CEJN’s eSafe coupling FAQ describes the two halves as a coupling and nipple, also called a socket and plug. This terminology identifies the mating interface separately from the rear threaded or hose connection.
Use the quick-coupling profile guide to organise the mating information. During pneumatic coupling plug identification, have the supplier confirm the documented pair and its operating instructions before accepting a proposed replacement.
Prepare a Pneumatic Plug Inquiry Checklist
A pneumatic plug inquiry checklist keeps the required function and the receiving component on the same request line. Include the fields below, and mark any missing specification so the supplier can address it explicitly.
| Field | Information to provide |
|---|---|
| Required function | Close a specified port, mate with a coupling socket, or protect an opening |
| Receiving component | Manufacturer, series, full model and a clear photograph or drawing |
| Interface specification | Tube-port specification, complete thread identity, or coupling profile as applicable |
| Operating requirements | Service medium and relevant operating conditions for technical confirmation |
| Quantity and unresolved points | Required pieces and the precise questions still awaiting evidence |
Pneumatic Tube Plug Identification Example
In a hypothetical inquiry, a buyer sends “plug, 8 mm, 30 pieces.” The request leaves both the function and the receiving item unclear. The buyer adds a photo of the unused fitting port, its complete model reference and the requirement for a specified closure. The supplier can then review the actual interface and propose a documented component.
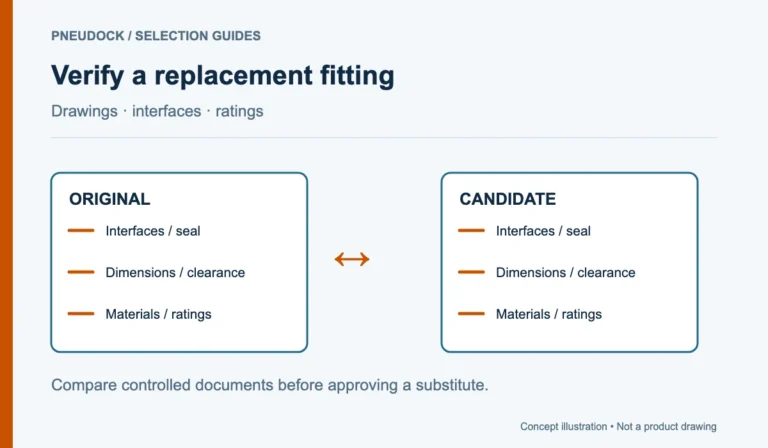
Use the published parts RFQ checklist when the plug is one item in a mixed order. Keep the pneumatic plug inquiry checklist beside the original reference and compare the supplier’s reply with the same line.
Complete your pneumatic tube plug identification record and send an inquiry to PneuDock with the available evidence. Any examination or removal of a pressure-containing component should follow the equipment’s isolation and depressurisation procedure and the component manufacturer’s instructions.